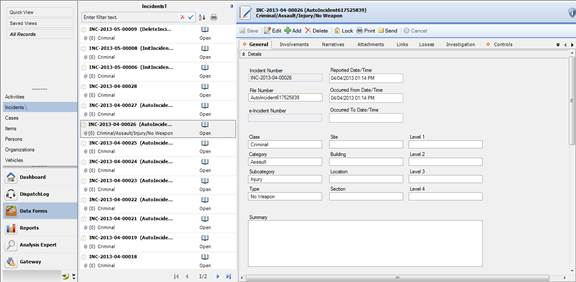
The Data Forms interface is divided into three sections: Navigation pane, Listing pane, and Viewing pane.
1.Navigation pane: Allows you to move between the various data forms (e.g., Activities, Incidents, Items). To display a particular record subset in the middle Listing pane, choose a data form from the Navigation pane and select your record view (i.e., specify a Quick View, view All Records, or select a view from the Saved Views menu).
2.Listing pane: Provides a list of records that are available for viewing. Once you select a record in the Listing pane, the corresponding record information will be displayed in the Viewing pane on the right.
Listing Pane
Change the orientation of the current component’s (e.g., Incidents) Listing pane by dragging it to a different part of the screen. Display the pane in a separate dialog by double-clicking it or dragging it outside of the screen. To dock it back in, double-click the pane.
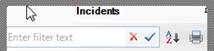
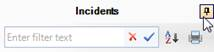
To hide the Listing pane, click the Auto Hide pin icon. Once the pane is hidden, access it by clicking the pane’s newly-created shortcut button on the left side of the screen, and unpin it by clicking the pin icon again.
If Perspective displays a list of entities (e.g., incidents, persons) that consists of multiple pages, use the left/right navigation arrows at the bottom of the list, or type a page number in the Page field, to move through the pages. The total number of pages will be provided for your reference. To quickly move to the first or the last page, click the first arrow or the last arrow icons respectively.
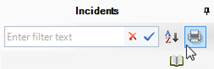
To print the record list as it appears in the Listing pane, click the Print button located at the top of the Listing pane.
3.Viewing pane: Displays information of a record selected in the Listing pane and provides options for saving, editing, adding, deleting, (un)locking, printing, sending, and merging individual records.
Note: Merge is only available for the Item, Person, Organization, and Vehicle records.
Every record consists of a set of customized forms and subforms designed specifically for the data form type. For example, a Person record contains a separate Contact(s) tab, which is absent in such data forms as Vehicles or Items.
Viewing Pane
To view a particular segment of a selected record (e.g., Narratives), click the appropriate tab at the top of the record. The diamond symbol appearing on a tab indicates that the tab contains data. Tabs without the diamond symbol contain no saved data.
View more tabs. If these arrows appear next to a row of tabs in a form, there are more tabs available than are currently visible on-screen.
Expand or collapse a section to view or hide its contents.
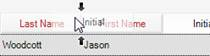
To resize a grid column, place the cursor between column headings. When an arrow appears, drag the column border to the desired width. To resize a column to fit its content, double-click the border of the column.
To reorder the grid columns, drag the column heading to a new position. Drop it into place once the thick arrows have appeared, pointing to the correct spot.
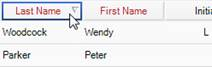
To sort the grid data by a particular column, click the column heading once. Click it again to sort the data in reverse order.